How to use Veil’s Autospend feature
Veil’s new core wallet version 1.0.3.1 includes an exciting new feature, called Autospend. Let’s explore how it works.
Autospend allows you to set up your wallet to spend zerocoins of a chosen denomination (10, 100, 1000, or 10,000) and a selected number of them every 5 minutes. In this article I will explain how to enable autospend and make sure that it is working.
Disclaimer: While Autospend is active, your wallet will be spending zerocoins, which can take some time to complete. If your wallet isn’t responding, give it time to finish the current zerocoin spend. Try not to force close your wallet as this can get your chain data into a corrupted state.
Let’s get started!
Starting Autospend
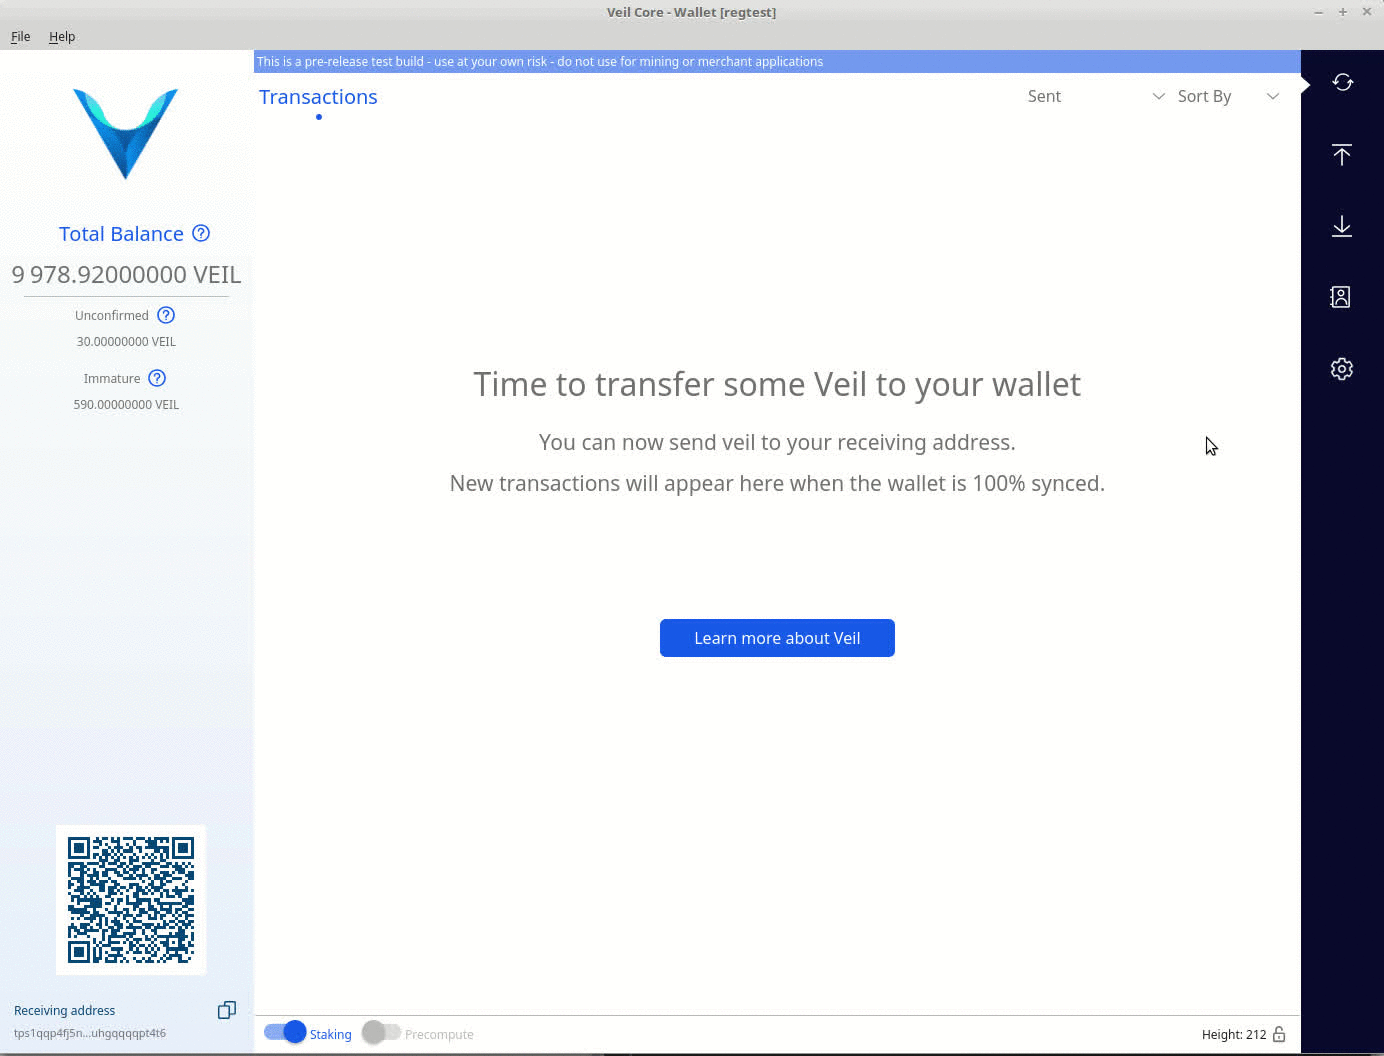
Step 1: Launch the Veil wallet. If your wallet isn’t unlocked, you will need to unlock it for the spends to complete.
Step 2: Navigate to the Veil console (Settings -> Advanced options -> Console tab).
Step 3: Now let’s turn on Autospend to autospend 2 of our 10 denom zerocoins every 5 minutes. -> Run the following in the console window.
startautospend "" 2 10
Disclaimer: The "" means that the wallet will generate an address for you. This is done to protect your wallet from generating too many addresses for Autospend. The 2 means the wallet will spend up to two denoms for the selected denom for each spend. The 10 is the selected denom to spend.
Stopping Autospend
Step 1: Navigate to the Veil console.
Step 2: Run the following in the console window:
stopautospend

That’s all there is to it. If you find yourself having trouble or with further questions about autospending, don’t hesitate to ask Veil staff on our Discord or Telegram.